

Common Classroom Projector Mistakes Schools Make (And How to Avoid Them)
A classroom projector should make lessons clearer and easier to follow.
Yet many classroom AV mistakes aren’t caused by faulty equipment — they stem from planning oversights that reduce brightness, readability, and long-term value.
From brightness miscalculations to poor placement and unsuitable surfaces, these avoidable mistakes can compromise readability, teacher and student comfort, and long-term system performance. By addressing them early during design and installation, schools can significantly improve learning outcomes while extending the lifespan of their AV investment.
1. Misjudging Classroom Projector Brightness Requirements
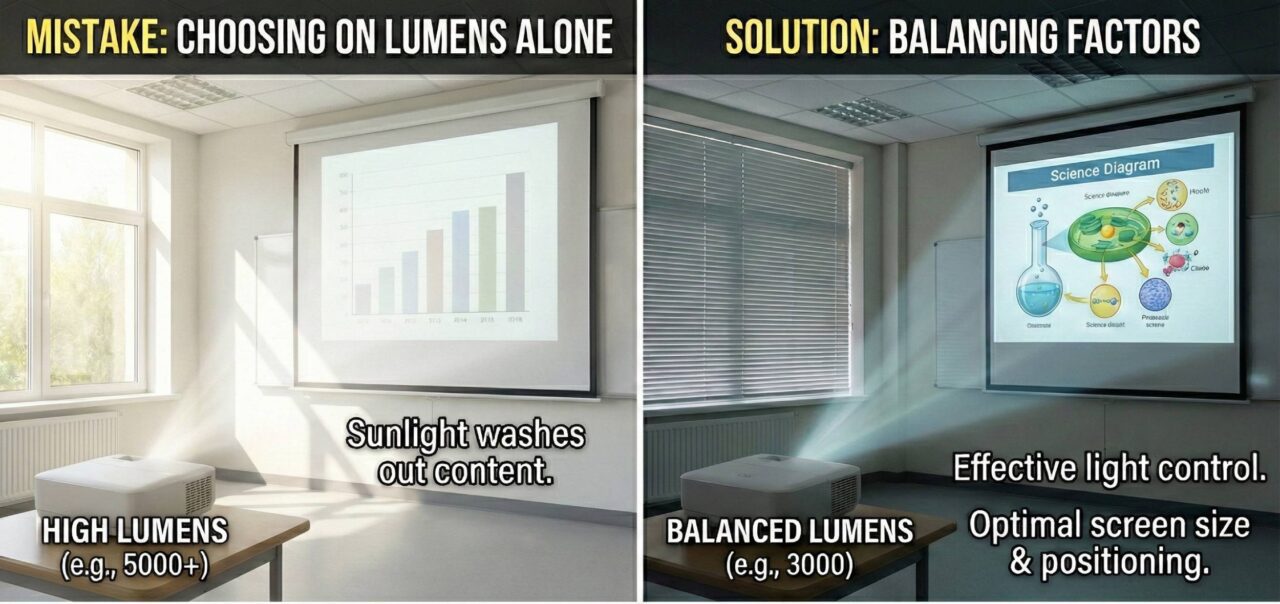
Choosing a classroom projector based on lumen specifications alone is one of the most common school AV mistakes.
Brightness isn’t just about the projector’s output— it’s about how much light actually reaches the screen. Larger images spread light over a bigger area, reducing perceived brightness, while natural or ceiling light falling directly onto the surface can wash out content significantly.
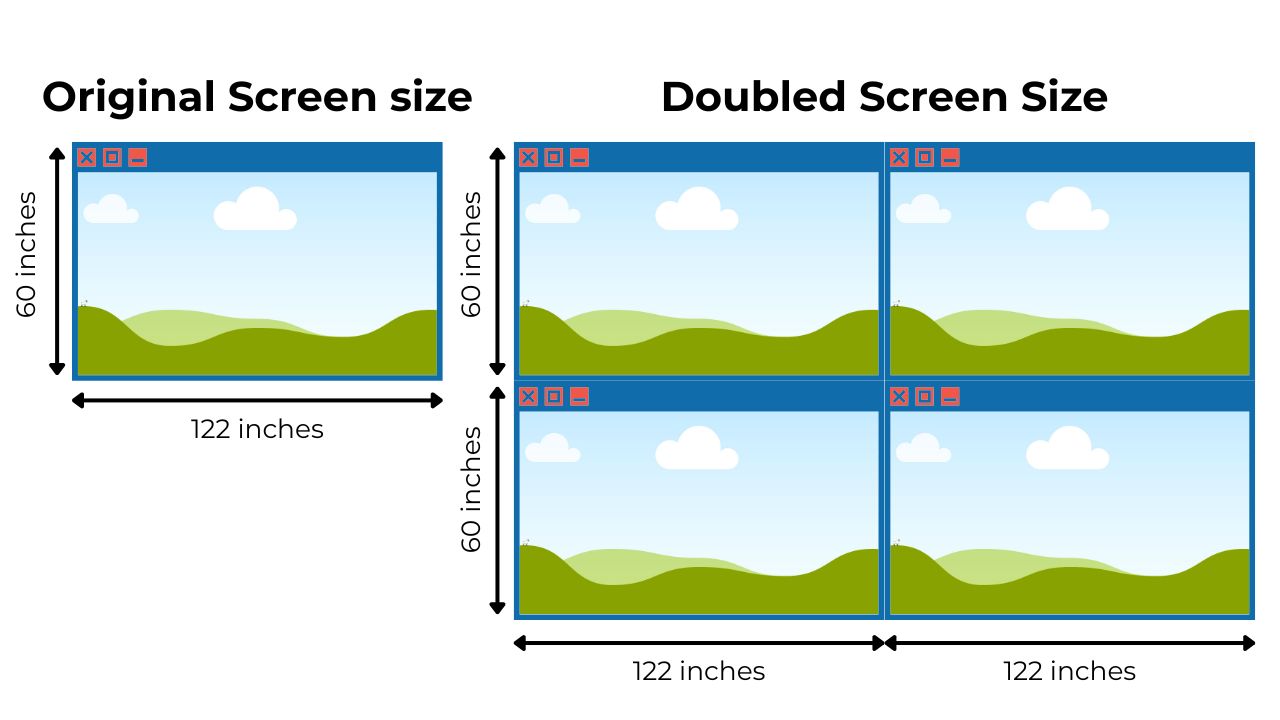
Image size has a bigger impact than many schools expect. Because brightness is distributed across surface area, doubling the image width effectively creates four times the screen area, meaning each part of the image receives only around 25% of the original light. Without careful planning, perceived brightness drops dramatically.
Room orientation also plays a role. At certain times of day or year, direct sunlight can overpower even high-output projectors. No projector can compete with the sun, so placement and light control often matter more than simply increasing lumens.
The most reliable approach is balancing brightness, screen size, and room lighting together — rather than overspending on a brighter model to compensate for poor positioning.
2. Selecting the Right Throw Distance
Projector throw distance directly affects both image quality and classroom comfort.
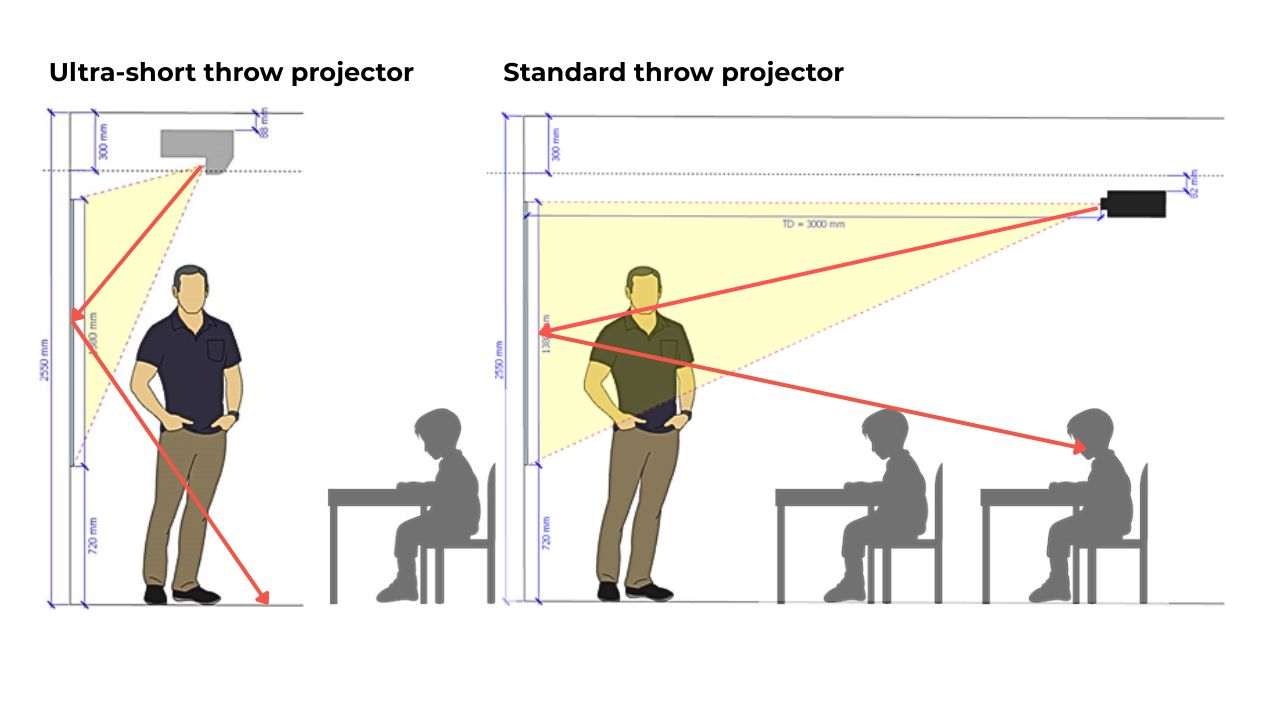
Standard throw
Standard-throw projectors work well in many spaces but can introduce practical issues:
- Teachers cast shadows when walking in front of the image (affects students)
- Light can shine directly into the teacher’s eyes (affects comfort and safety)
Ultra-short throw
Ultra-short-throw projectors mount close to the wall and significantly reduce shadows and eye glare. This creates a more comfortable teaching position and a clearer view for students.
Choosing between standard and ultra-short throw should depend on teaching style, room layout, and how often teachers present at the board.

Related:
→Classroom Projector Options Explained: Types of Projectors for Schools
3. Managing Glare, Hot Spots, and Viewing Comfort
Poor projector placement doesn’t just affect image clarity — it affects the people using the room.
Teachers may be forced to stand in bright light, while students deal with shadows or reflections that make viewing tiring over time. Even when the image looks “bright enough,” discomfort can reduce attention and learning effectiveness.
A common example is a hot spot — a bright glare area where reflected light concentrates on the screen, making parts of the image uncomfortable or difficult to see from certain angles. This effect is most noticeable when projecting onto standard whiteboards or glossy walls. Matte fabric projection screens typically diffuse light more evenly and are far less prone to the issue.
Managing viewing angles, surface finishes, and projector positioning helps minimise these distractions and keeps content readable and comfortable for everyone in the room.
4. Surface Flatness Matters — Especially for Ultra-Short Throw
The projection surface has a direct impact on image quality.
Standard-throw projectors are generally forgiving of small wall or whiteboard imperfections. Slight warping often goes unnoticed. Meanwhile, ultra-short-throw projectors are much less forgiving. Because they project at a steep angle, even minor surface inconsistencies can create:
- wavy lines
- distorted shapes
- uneven geometry
Flat, rigid surfaces such as vitreous enamel boards provide more consistent results and longer service life.
5. Preserving Valuable Whiteboard Space
Projection should support teaching — not reduce writing space.
Whiteboards remain one of the most important classroom tools for many schools, so preserving usable surface area is critical. Centering the image isn’t always the most practical layout. Offsetting the projection can often create more uninterrupted space for notes and explanations.
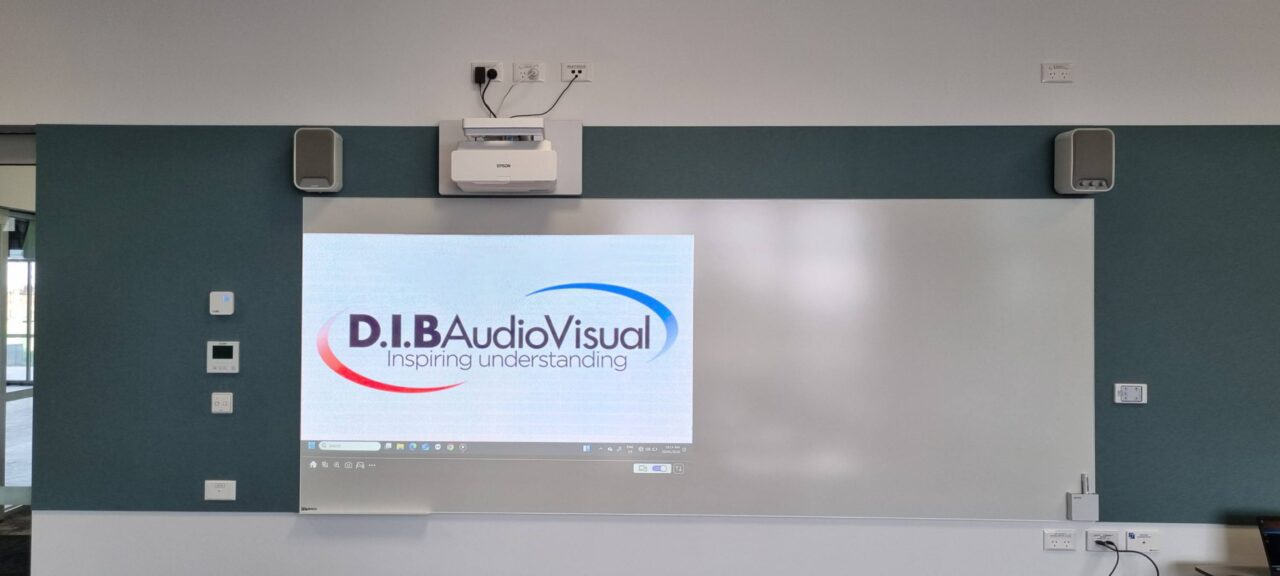
In new classrooms, many schools increase board coverage across the entire front wall — for example, installing two 2.4 m boards to create 4.8 m of writing space, then aligning the projector to one section only.
Thoughtful layout planning ensures teachers don’t have to choose between displaying content and having room to teach.
6. Overlooking Surface Factors
Beyond geometry and placement, the material finish of the surface also affects performance.
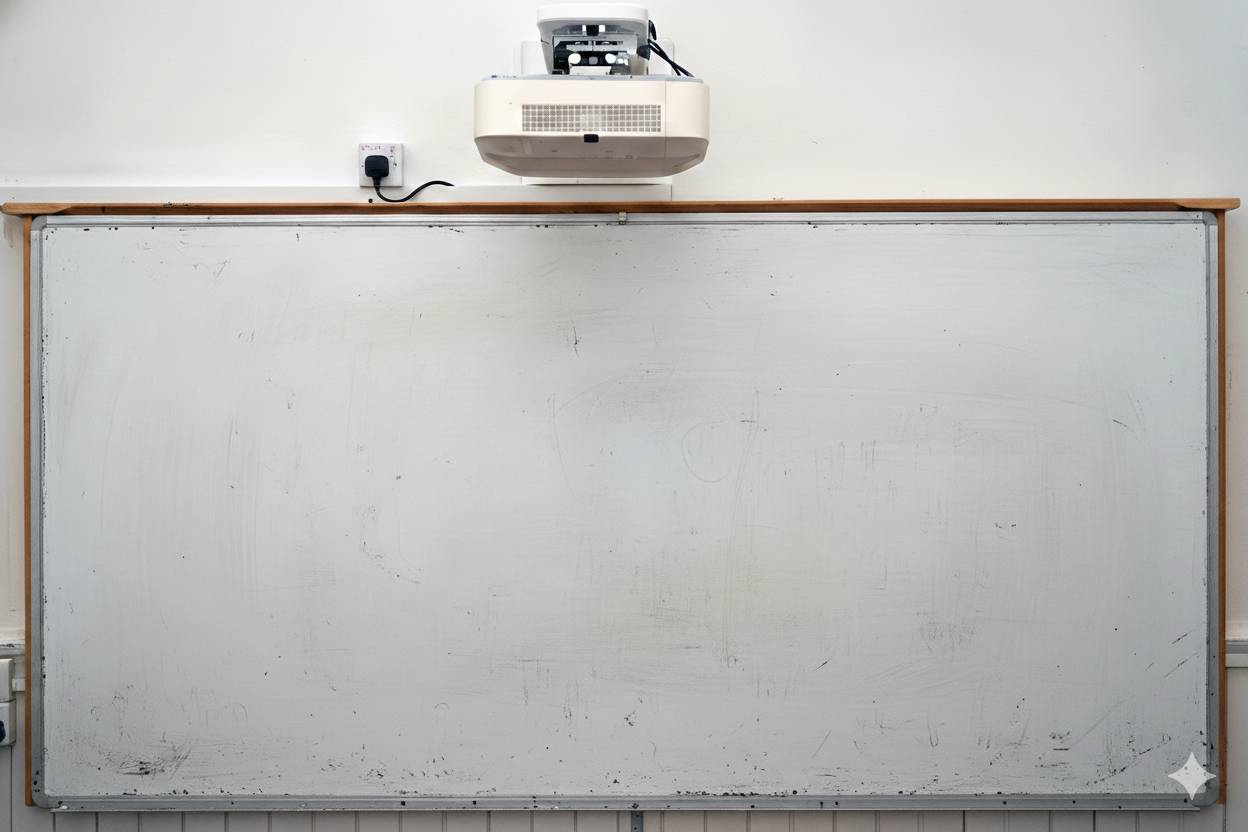
Glossy finishes increase glare, darker walls reduce perceived brightness, and marker residue can gradually dull image clarity. Over time, even small surface issues can noticeably reduce image quality.
Whiteboard surfaces that are not perfectly flat—such as lower-cost boards, older models, or poorly installed ones—can lead to distorted images when used with ultra-short-throw projectors. This highlights that whiteboard quality directly impacts projection performance.
Some projector-optimised or matte surfaces improve visibility but may be harder to clean, so maintenance requirements should be considered during selection.
In high-use classrooms, periodic professional cleaning helps maintain consistent results and prolongs the life of both the surface and the projector.
7. Choosing the Wrong Technology
Not every classroom requires the same solution. Selecting purely on price can lead to compromises in colour accuracy, contrast, or longevity.
Differences between lamp vs laser projectors and DLP vs 3LCD optical engines affect brightness consistency, colour performance, and contrast — all of which influence readability, especially for detailed or low-contrast content.
Matching the technology to the learning environment delivers more reliable performance and fewer complaints over time.

8. Planning for Today Instead of Tomorrow
Short-term decisions often lead to early replacement.
Systems that feel “good enough” today can quickly feel outdated as expectations rise and teaching methods evolve. Planning for durability, scalability, and ease of maintenance helps schools avoid repeated upgrades and unexpected costs.
Working with an education-focused AV partner like D.I.B Audio Visual ensures classrooms are designed for durability, scalability, and ease of use — reducing lifecycle costs and avoiding repeated upgrades.
Getting It Right the First Time
Ultimately, classroom AV exists to support communication. When brightness, placement, surface quality, and technology are considered together, the result is a system that simply works — allowing teachers to focus on teaching, not troubleshooting.
Avoiding these common classroom projector mistakes helps schools deliver clear, reliable learning environments in every room.